A fairy rabbit, being a cartoon hero, fell in love with many children. Every child dreams of having such a toy friend to spend time with him and fall asleep in the same bed. You can fulfill the dream of your child by not only buying a toy, but also making it yourself. Moreover, the creation of my mother’s hands will be loved and more expensive than the store. In order to create a beautiful toy, you will need very few things: just a couple of pieces of fabric, a rabbit pattern and a little imagination.
Best friend
A soft and cute toy rabbit can be the best friend for any child. To do this, the craft needs to be made as cute and functional as possible, that is, not used for decorating fragile and small jewelry. It is best to choose natural fabrics or fur for sewing and decoration. When using fur material (especially natural), you should make sure that there is no allergy in the child.
The size of the future crafts can be different, depending on the age of the baby. But many needlewomen advise to make not too big toys, so that it is possible to wash and dry them quickly. Also, you don’t need to sew a very small rabbit, because he will quickly get tired of the child. Therefore, it is best to choose an average size of about twenty to thirty-five centimeters. As for the clothes of a fairy-tale hero, it should correspond to the gender of the child, because not every boy will like a rabbit in a dress. But for girls there are no restrictions.
Toy style
Among the huge number of styles of toys, Tilda's crafts are especially popular. The creator of this trend, Tony Finnanger, was able to embody the simplicity of form and the graceful splendor of fabric dolls in her crafts. Having received worldwide recognition for sophistication, all products under the Tilda brand are the favorite toys of many children. One of the features of such toys are long arms and legs, as well as a minimal image of the outlines of the face. Also in the collection of needlewomen there are rabbits. The charming rabbit Tilda, whose pattern is placed below, is the most beloved exhibit of many people from among all the artist’s crafts.

When cutting toy details from fabric, it is necessary to take into account the fact that the pattern is depicted without allowance for seams, so you should make a small indent from the edges of about 1-1.5 cm. If this is not done, too narrow details will be obtained that can ruin the appearance of the craft.
Also, the Tilda rabbit (the pattern of which is placed in the article) is drawn on a small scale, which can be increased if desired. As a filler, you can choose sintepon, holofiber or sintepuh. As for the design of the face, you need to sew two small beads in the area of \u200b\u200bthe eye, and embroider the nose with a triangle, using thread for embroidery. It will also be necessary to lightly brown the cheeks of the rabbit, using the blush. It should be noted that the ears of a fashionable rabbit can be sewn in different ways. In one case, they are cut from one material, and in the other, fabric of two colors is used. As a rule, the inner side of the ears in this case should be made of multi-colored linen or cotton.
Fluffy gift
No less charming and cute than a fabric one is a rabbit made of fur. To create such a magnificence, it is best to choose short-haired fur that will not crumble. A toy can be sewn in several ways, resorting to a combination of material and making completely fur. In the first case, the head of the crafts is cut out of some soft fabric, and all other details are made of fur. This version of the toy rabbit looks very beautiful and original. The following shows a rabbit pattern made of fur, which is suitable for sewing both types of crafts.

Speaking about the design of the face of the rabbit, it should be mentioned that very expressive eyes need to be made on a fully furry toy. Most often they use special ones that look like real ones. Making them yourself is very difficult, so you need to use purchased parts. As for the combined craft, different eyes look equally charming on it. They can be purchased, embroidered or made from beads and buttons.
Long-eared surprise
There are few differences between all toy rabbits, most often these are different types of material taken for sewing, as well as the shape of their ears. Such a handmade product can have medium-length ears, erect ears, and also very long ears, which sometimes reach the height of the craft. Below is a pattern of a rabbit with long ears, which any child will surely like.

The toy depicted on the pattern can be sewn from various materials. Therefore, it may look like Tilda crafts or like the above fur option. In any case, the toy rabbit will turn out to be very beautiful. Sometimes a soft wire is inserted into the ears of such products so that they can be lifted. But most often long-eared rabbits are made with drooping and soft ears.
Desired scale
Very often it turns out that the rabbit pattern shown in the figure is not suitable in size. Sometimes you want to sew a toy more, and sometimes less. In this case, it is worth resorting to zoom in or out. This is not difficult to do, you need to take a finished image of the parts, and if you need to enlarge them, then add a few centimeters along the edges of the product. If it is necessary to reduce, then you need to measure the pattern data with a ruler and draw it taking into account the changes, taking a few centimeters along the edges.

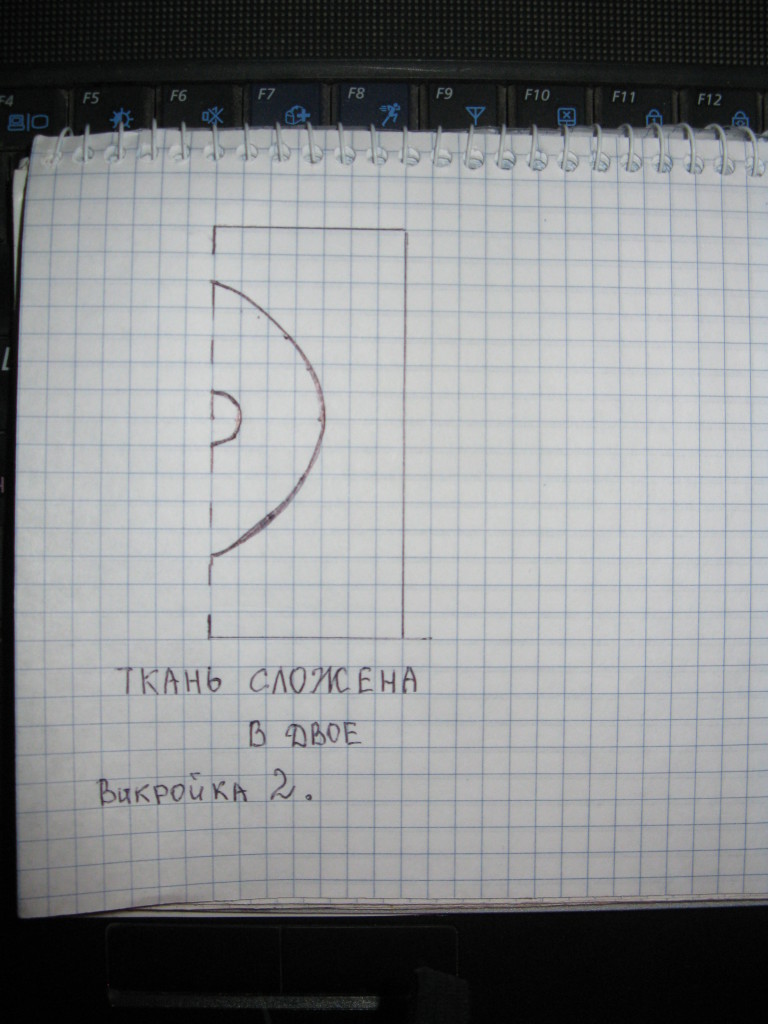
When making such changes in the toy, it is necessary to take into account that the rabbit pattern is filed taking into account the proportions of the body of the craft. Therefore, you do not need to draw images by eye, without having certain skills. It is best to follow the recommendations of specialists, as indicated above. If it is difficult to make a correct pattern on a regular album sheet, then you should use a sheet from a notebook in a cage or special paper designed for these purposes. It will be much easier to draw details on it and make various roundings correctly.
Unusual stuffing
As a rule, they use the same materials for stuffing toys, this is a synthetic winterizer, synthetic winterizer or holofiber, as mentioned above. But sometimes other fillers are used to give durability to the craft. Most often, these are various cereals, which are pleasantly felt through the fabric. Being completely natural, such ingredients will not harm the playing child.
When using natural fillers, one must take into account the fact that cereals are heavier than synthetic packing. Therefore, the pattern of the rabbit and the material for its sewing should be selected taking into account this nuance. It should also be remembered that before using any cereal, it must be well-fried so that it does not deteriorate inside the craft. Although this method of filling products is completely natural, but it has one big drawback - the inability to wash the toys. Therefore, it is most often used for crafts that are used as decor for the premises.
The appearance of a bunny is very popular among needlewomen. These are soft toys and knitted animals from wool fashioned from clay. Pretty Toys workshop offers you a large collection of hare patterns of all stripes and sizes. Long-eared handsome will accompany your baby everywhere: at the table, during the game or walk. From an early age in children (especially young princesses) there is a need to protect someone and take care of someone. If your baby does not yet have a charming bunny, then try to make it yourself.
If you decide to sew a hare, start by choosing a pattern. Then you should decide on the fabric (for the body and clothes). If you have chosen a tilda-hare pattern, then the materials are perfect: linen, cotton or fleece - depending on what the future toy should be. A hare created by yourself on a pattern will delight you and those around you. It can be put in a chair or on a sofa, put on a chest of drawers.
Rabbit toy will complement the plush collection
If your house has enough long-eared hares, handsome, pay attention to the patterns of rabbits. Fluffy brothers will be a great addition to your collection. For manufacturing, you can use faux fur or other fabric, the filler is holofiber, synthetic winterizer and synthetic winterizer. Shades can be different: natural or bright colorful. Currently, tilde rabbit patterns are very popular. These toys are very cute and each one has its own character. Some are thoughtful, others romantic, third serious, fourth funny. And we offer to sew a cute dreamy rabbit with your own hands.
To make a rabbit, you do not need much time. However, the result will certainly please you. In your hands will be a toy that you can’t buy in a store, a toy that contains a piece of your warmth. Join the craftsmen of Pretty Toys - send us photos of finished toys and patterns!
The Easter Bunny is a tradition with long roots. In Germany, already in the 16th century, the Easter rabbit was a symbol of fertility and wealth. In North America, as well as some European countries, there is a custom - to hide Easter eggs on Easter morning. Awakened children rush to search the whole house and as a result they find an Easter bunny in a "nest" with many colorful eggs. In the form of rabbits, sweets and toys are made, as well as souvenirs that look like whole families of rabbits.
Like Valentine's Day (February 14), this tradition is widely spread in our country. Children really like to play and make up stories about these cute toys. Therefore, rabbits must be present on Easter. Bright funny figurines of Easter bunnies in baskets with multi-colored eggs will be a magnificent decoration of the table, a great souvenir for your guests, as well as talismans that bring good luck and wealth. Sewing such an Easter bunny with your own hands is very easy. We offer you several options.
So, in order to sew an Easter bunny, we need small pieces of calico bright color or any other cotton fabric.

Make a paper pattern of the Easter bunny, attach it to the fabric (you can stab it with pins) and cut out two parts. Do not forget the seam allowances.

On the front side we embroider a muzzle. So that the embroidery does not stretch the fabric, a small piece of coarse calico is placed from the inside, but it can be left out.

Immediately sew a piece of jewelry - this is a heart on our sample.

We sew the rabbit, leaving a small hole for stuffing. If desired, you can insert a tag on the side.

We twist the toy, stuff it with a padding polyester or other filler for toys and sew the hole with a blind seam.

For the manufacture of the second rabbit, we also prepare a pattern and cut it with seam allowances.
On the sewn oval of plain fabric (you can use thin fleece) we embroider the muzzle.


From the fabric of a different color, we cut out the legs and sew them.

We twist and stuff with a synthetic winterizer.

Fold the two parts of the future toy face inward. Mark the places where the paws will be

Insert the paws inward:

And we sew them, leaving a small hole for turning out.


We turn the stitched rabbit to the front side. We stuff with a synthetic winterizer and sew the hole with a blind seam. The rabbit is ready!


Easter bunny tilda
Another variety of Easter bunnies is tilde bunnies. You can draw the pattern of the Easter tilda rabbit yourself, or you can use this option:


For the manufacture of such an Easter bunny it is better to use cotton or linen fabrics.

The muzzle of such a rabbit is embroidered with threads or painted with acrylics. Clothes for tilde rabbits can be sewn or knitted.

Easter Bunny Napkins
An interesting decoration of the festive table will be linen napkins folded in the form of a rabbit.

Step 1. Take a square linen starched napkin and fold it lengthwise in three layers.

Step 2. Mentally divide the napkin vertically in half. The upper right corner must be bent down so that a triangle forms from the right half of the napkin.

Step 3. Similarly, we bend the left corner.

Step 4. Now we bend the lower right corner upwards diagonally to the center.

Step 5. Do the same with the left corner.

Step 6. We got a rhombus. Again, take the right corner and wrap it in the center again.

Step 7. Wrap the left corner in the same way.

Step 8. We turn the almost finished "Easter Bunny" 90 degrees, and bend the "tail" to it.

Step 9. Expand the "ears".

Tilda dolls, now popular, have turned from ordinary toys into collectibles, as their assortment is diverse: angels, various animals and accessories. The needlewomen take them as a basis and create new and interesting specimens.
In the article you will learn how to sew a Tilda rabbit with your own hands, as well as make clothes for him.
DIY Tilda rabbit workshop
You will need:
- a printed pattern of details of a tilde rabbit and his clothes;
- plain fabric for the body: cotton, linen, chintz;
- fabric for clothes;
- colored fabric for the ears - should be combined with two other fabrics;
- sewing machine;
- filler (synthetic winterizer, holofiber);
- thread, needle;
- scissors;
- pink pencil;
- pencil for fabric or remnants;
- floss for embroidery muzzle;
- buttons, ribbons, lace for clothes.
- Fabrics are ironed. We cut out the details of the pattern of the rabbit and his clothes from paper.
- Fold the plain fabric in half with the front side inward and pin it off with pins. We apply and trace the patterns of the body, legs and arms, leaving around them a place for 1 cm allowances. Cut them out.
- On the details of the legs in the upper part, we tuck the edge and stitch at a distance of 0.5 cm.
- Stacked together with the front sides, two parts of the legs and arms are sewn along the contour, leaving a hole on top. Two parts of the body are truncated along the contour, leaving a hole below.
- In places of rounding and bending with scissors, we make small cuts to the stitch and turn the blanks.
- We fill all the details of the rabbit's body with holofiber so that the fabric becomes smooth and without wrinkles.
- Sew legs in the torso. This can be done in different ways: by placing the feet in different directions, directly or inward. To do this, we tuck the edge of the body tissue inward, insert the legs, pin with pins, and on top we sew with the back sewing needle stitch.
- Sew in the hands. To do this, first we turn the fabric near the hole inwards and sew it with a seam “over the edge”. Sew to the body with a zigzag on a typewriter or manually with a blind seam.
- We cut out two blanks of ears from plain and colored fabric with an allowance for seams of 5-7 mm.
- Stitch along the edges, leaving a 1-1.5 cm hole in the middle.
- We make cuts in the places of curvature and twist.
- Sew the ears to the head from above with the colored part down.
- Embroider the stitch nose and eyes on the face.
- We cut out the details of the clothes for the rabbit according to the pattern.
- We sew panties according to this scheme.
- We sew a sarafan according to the scheme and decorate it with details: embroidery, buttons, lace, ribbons. You can even make an apron.
- We put clothes on the rabbit, fix it at the waist level with a hidden seam so that it does not move.
- Pink cheeks with pink pencil.


Our adorable rabbit Tilda is ready!
